In the hustle and bustle of daily life, finding time for a salon manicure can often be a luxury. Yet, the secret to achieving salon-worthy nails lies right at your fingertips – quite literally! With a handful of tools and a touch of self-care, you can transform your nails into a masterpiece without stepping outside your comfort zone. Let’s delve deeper into each step of the process, ensuring your at-home manicure is not just a routine but a therapeutic experience. Embark on the journey of a soothing DIY Manicure at Home to pamper your nails and yourself.
1. Gather Your Tools
To embark on your DIY manicure journey, the first step is to gather all your tools. A nail clipper, a file, a buffer, cuticle oil, a cuticle pusher, and, of course, your favorite nail polish – having these essentials in one place sets the stage for a smooth and enjoyable manicure session.
2. Start with Shaping
Shaping your nails is the foundation of a polished look. Use a nail clipper to trim your nails to the desired length and a file to shape them. Whether you prefer a classic oval, square, or almond shape, ensuring symmetry and smooth edges will give your nails a professional finish. As part of your at-home manicure routine, focus on precision in shaping for a satisfying **DIY Manicure at Home** experience.
3. Soak and Soften
Treat your nails to a mini spa session by soaking them in warm, soapy water. Adding a few drops of olive oil enhances the softening effect, making it easier to tend to your cuticles. Soft cuticles are not only aesthetically pleasing but also contribute to the overall health of your nails.
4. Care for Cuticles
Apply cuticle oil generously and gently push back your cuticles using a cuticle pusher. This step not only adds a refined look to your nails but also promotes healthy nail growth. Remember, a gentle touch goes a long way in ensuring comfort during this part of the process.
5. Buff for Smoothness
Buffing is the secret to achieving a flawless surface. A gentle buffing motion evens out ridges and imperfections, giving your nails a healthy sheen. This step is especially beneficial if you prefer a natural look or if you’re planning to go polish-free. Incorporate this technique into your at-home manicure routine for a satisfying DIY Manicure at Home that enhances the natural beauty of your nails.
Also read – 10 Essential Skincare Products for Your Next Trip
6. Apply a Base Coat
Before diving into the world of colors, apply a thin layer of base coat. This not only provides a smooth canvas for your polish but also protects your natural nails from potential discoloration. Allow the base coat to dry completely before moving on to the next exciting step.
7. Choose Your Color
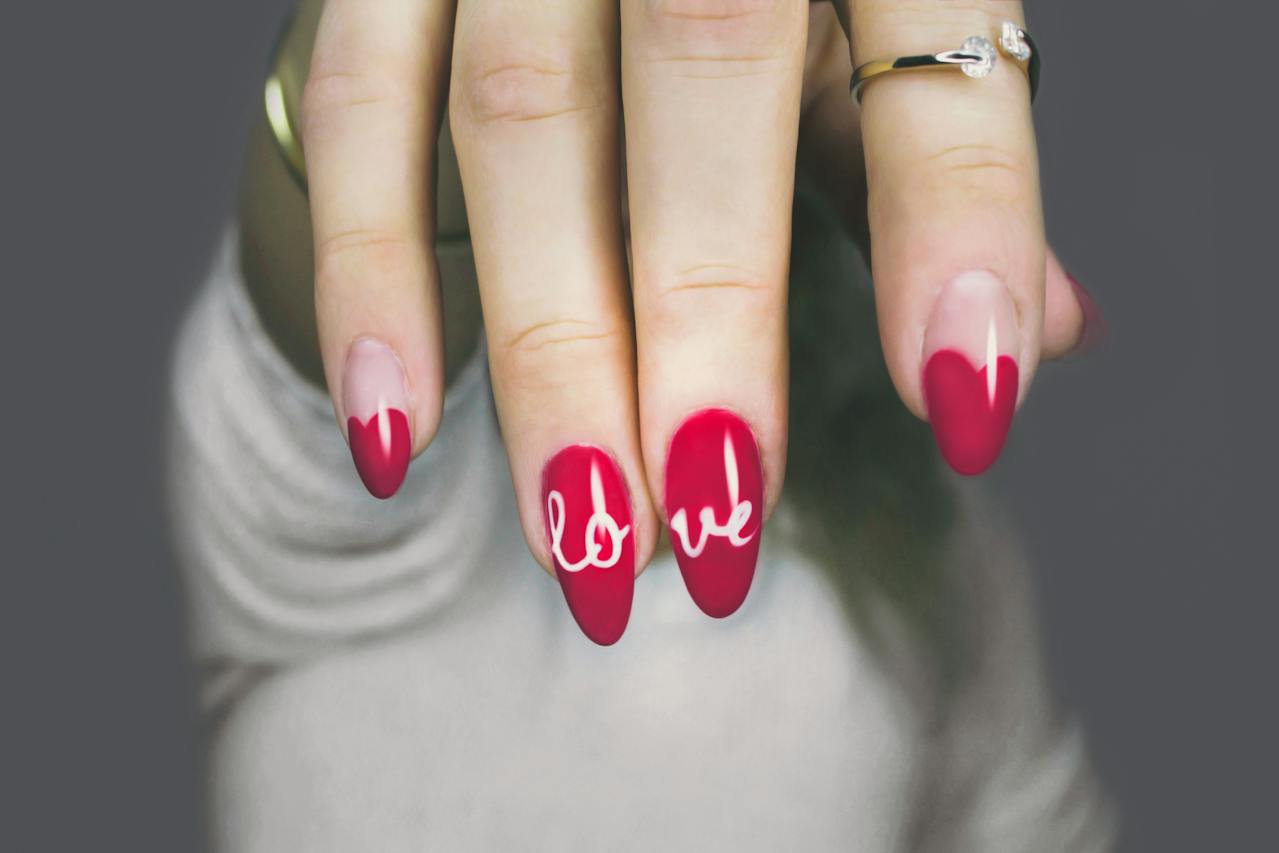
Now, the canvas is ready for your creative touch. Select your favorite nail polish color and apply it in thin, even coats. Whether it’s a bold red, a serene pastel, or a trendy neon, let your nails become an expression of your style. Don’t rush – allowing each layer to dry fully ensures a longer-lasting manicure. Take your time during this step of your at-home manicure for a truly satisfying and stylish DIY Manicure at Home experience.
8. Add Creative Flair
Feeling adventurous? Take your DIY manicure to the next level by adding creative elements. Nail stickers, simple designs, or a contrasting color on an accent nail can showcase your personality. Remember, simplicity can be just as striking as intricate designs.
9. Seal the Deal with a Top Coat
Indulging in a hot shower may be tempting, but it can strip your skin of natural oils, exacerbating dryness. Opt for lukewarm water when cleansing your face to preserve the skin’s lipid barrier. Additionally, choosing a good exfoliator can help remove dry skin from face, promoting a smoother and more radiant complexion.
10. Maintain the Glow
Your DIY manicure deserves ongoing care. Regularly moisturize your hands and cuticles with a nourishing hand cream or oil. This not only keeps your skin supple but also prevents your nails from becoming brittle or chipping. Embrace the habit of self-care to make your manicure last.
Conclusion
In conclusion, a DIY manicure at home is not just about grooming; it’s a mindful practice that allows you to express yourself creatively while nurturing the health of your nails. Enjoy the process, experiment with colors and designs, and let your nails become a canvas for your unique style. With these simple steps, achieving salon-quality nails becomes an empowering and enjoyable journey within the comfort of your home. Treat yourself to the luxury of self-care, one polished nail at a time!


